
If you’ve just started with React and are curious about how routing works in modern React apps, this is the perfect place for you.
In this article, I’m going to explain routing in modern React apps, along with a simple setup guide.
So, let’s get started 🚀
When i started learning about routing in react, at first i get overwelmed .
BrowserRouter, RouterProvider, createBrowserRouter — too many things to digest .
But instead of just watching some random youtube tutorial i tried to understand things, and here i'm going to share what i have understand so far.
React Router vs React Router DOM
So, the first confusing thing in this journey is understanding what React Router and React Router DOM actually are.
If you dig a little deeper, you’ll find that React Router is the core package - it contains all the main routing logic and functionalities.
On the other hand, React Router DOM is the web-specific package used for browser-based React apps. It is built on top of React Router and depends on it, but it’s specifically designed for the web.
So, if you’re working with web apps (which most of us are), you’ll be using React Router DOM almost all the time - basically the web version of React Router.
Installing Dependencies
To install React Router DOM :
npm install react-router-dom
You don't need any extra package, this will do the job for you.
Understanding the Modern Approach
So there are mainly two ways , how you can use routing in react by using react-router-dom.
Old Way - BrowserRouter + Routes
Modern Way - createBrowserRouter + RouterProvider
Today we are going to learn about the modern approach .
BrowserRouter + Routes
This is what everyone learned in 2022–2025. Super simple and readable with JSX.
Wrap your app with
Define routes using and components
Pros: Easiest to understand, perfect for small/medium apps or beginners.
Still 100% supported in v7.
createBrowserRouter + RouterProvider
This became the official recommended way starting in v6.4 and is even stronger in v7.
You define all your routes as a JavaScript array/object
Use createBrowserRouter()
Render everything with
Pros: Unlocks powerful Data APIs (loaders for fetching data before the page renders, actions for forms, parallel loading, built-in error boundaries, pending UI, etc.).
It comes with Better performance and future-proof.
And today we are going to learn about this modern way and do some basic rouer setup using this.
Setup Guide :
Step - 1 : Create Rouer
Create a routes folder inside your src directory. Now create a AppRoutes.jsx file inside the routes folder.
Now this is the perfect place where you can create the router.
import { createBrowserRouter } from "react-router-dom";
import App from "../App.jsx";
import About from "../pages/publicC/About.jsx";

const router = createBrowserRouter([
{
path: "/",
Component: App,
children: [
{ index: true, Component: Landing },
{ path: "about", Component: About },
],
},
]);

export default router;
Now you must be thinking why should i create a separate routes folder and do all this.
Honestly you don't have to do this , but it's a good practice.
As your app grows, routing can get messy - lots of paths, nested routes, layouts, etc. Keeping everything inside a routes folder helps you :
To keep things organized
Separate routing logic from UI components
Easily find & manage all routes in one place.
Alternatives : You can always do what you want to do, even you can define the routes directly inside App.jsx , if your project is small.
What does "Creating a router" means?
When we use createBrowserRouter, we basically define all the routes of our app in one place.
You are basically telling react :
What URL maps to which component
how routes are nested
what should render inside what
This is your app's navigation blueprint
createBrowserRouter([....])
Step - 2 : Add RouterProvider
Now it's time to add the RouterProvider , so go to your main.jsx file and do this
import { StrictMode } from "react";
import { createRoot } from "react-dom/client";
import "./index.css";
import { RouterProvider } from "react-router-dom";
import router from "./routes/AppRoutes.jsx";

createRoot(document.getElementById("root")).render(
<StrictMode>
<RouterProvider router={router} />
</StrictMode>,
);
Now let's talk about what does this even mean..
So after creating the router, now it's time to connect your router to your app.
Like think about it , you created the routes, but now how your app will know about it ???
You have to tell it right .
When you do this :
<RouterProvider router={router} />
You are basically telling React :
Hey , use this router to control navigation in my app.
And the router is the router object, that you are exporting from the AppRoutes.jsx file.
Without RouterProvider , your router is just defined ... but not used yet!
Now you must be thinking but why do need to do all these with main.jsx ??
Because this is the entry point of your app - so you wrap your whole app with routing from the start.
Step - 3 : use Outlet in the App
Now go to your App.jsx file and do this
import { Outlet } from "react-router-dom";

const App = () => {
return (
<>
<Outlet />
</>
);
};

export default App;
Ok, so let's try to understand what we just did here .
is basically a placeholder - It tells React Router:
Render the child route component here only
Why do we need Outlet ?
first look at your roues ;
{
path: "/",
Component: App,
children: [
{ index: true, Component: Landing },
{ path: "about", Component: About },
],
},
here :
App is the parent route.
Landing and About are child router.
So when you go to :
/ - Landing page should render
/about - About page should render
But where should they render inside App ?
That's where comes in the picture.
Outlet basically Renders the matching child route in the place of
Think like this - you have Navbar & Footer to show in each page, but you don't want to write it everywhere. So now what ?
Now you will use Outlet -
const App = () => {
return (
<>
<Navbar />
<Outlet />
<Footer />
</>
);
};
Navbar & Footer stays same , only the middle content changes.
Nested Routes
Nested Routes - as you can understand from the name it mean - routes inside routes.
Nesting is useful in real apps, as many pages share the same layout.
For Example :
Navbar stays same
Footer stays same
Only content changes
So instead of repeating the same code again and again, we use nested routes.
Layouts are just like wrapper components that holds common UI. Like you discussed while talking about .
{
path: "/",
Component: App,
children: [
{ index: true, Component: Landing },
{ path: "about", Component: About },

{
path: "auth",
Component: AuthLayout,
children: [
{ path: "login", Component: Login },
{ path: "register", Component: Register },
],
},
],
},
Here App is the main layout ( Navbar / Footer included within)
AuthLayout is different layout ( no Navbar/ Footer , simple page )
Example :
/→ App → Landing/about→ App → About/auth/login→ AuthLayout → Login/auth/signup→ AuthLayout → Signup
Simple Idead : how you can understand -
Parent = layout
Child = actual page
Outlet = where page shows
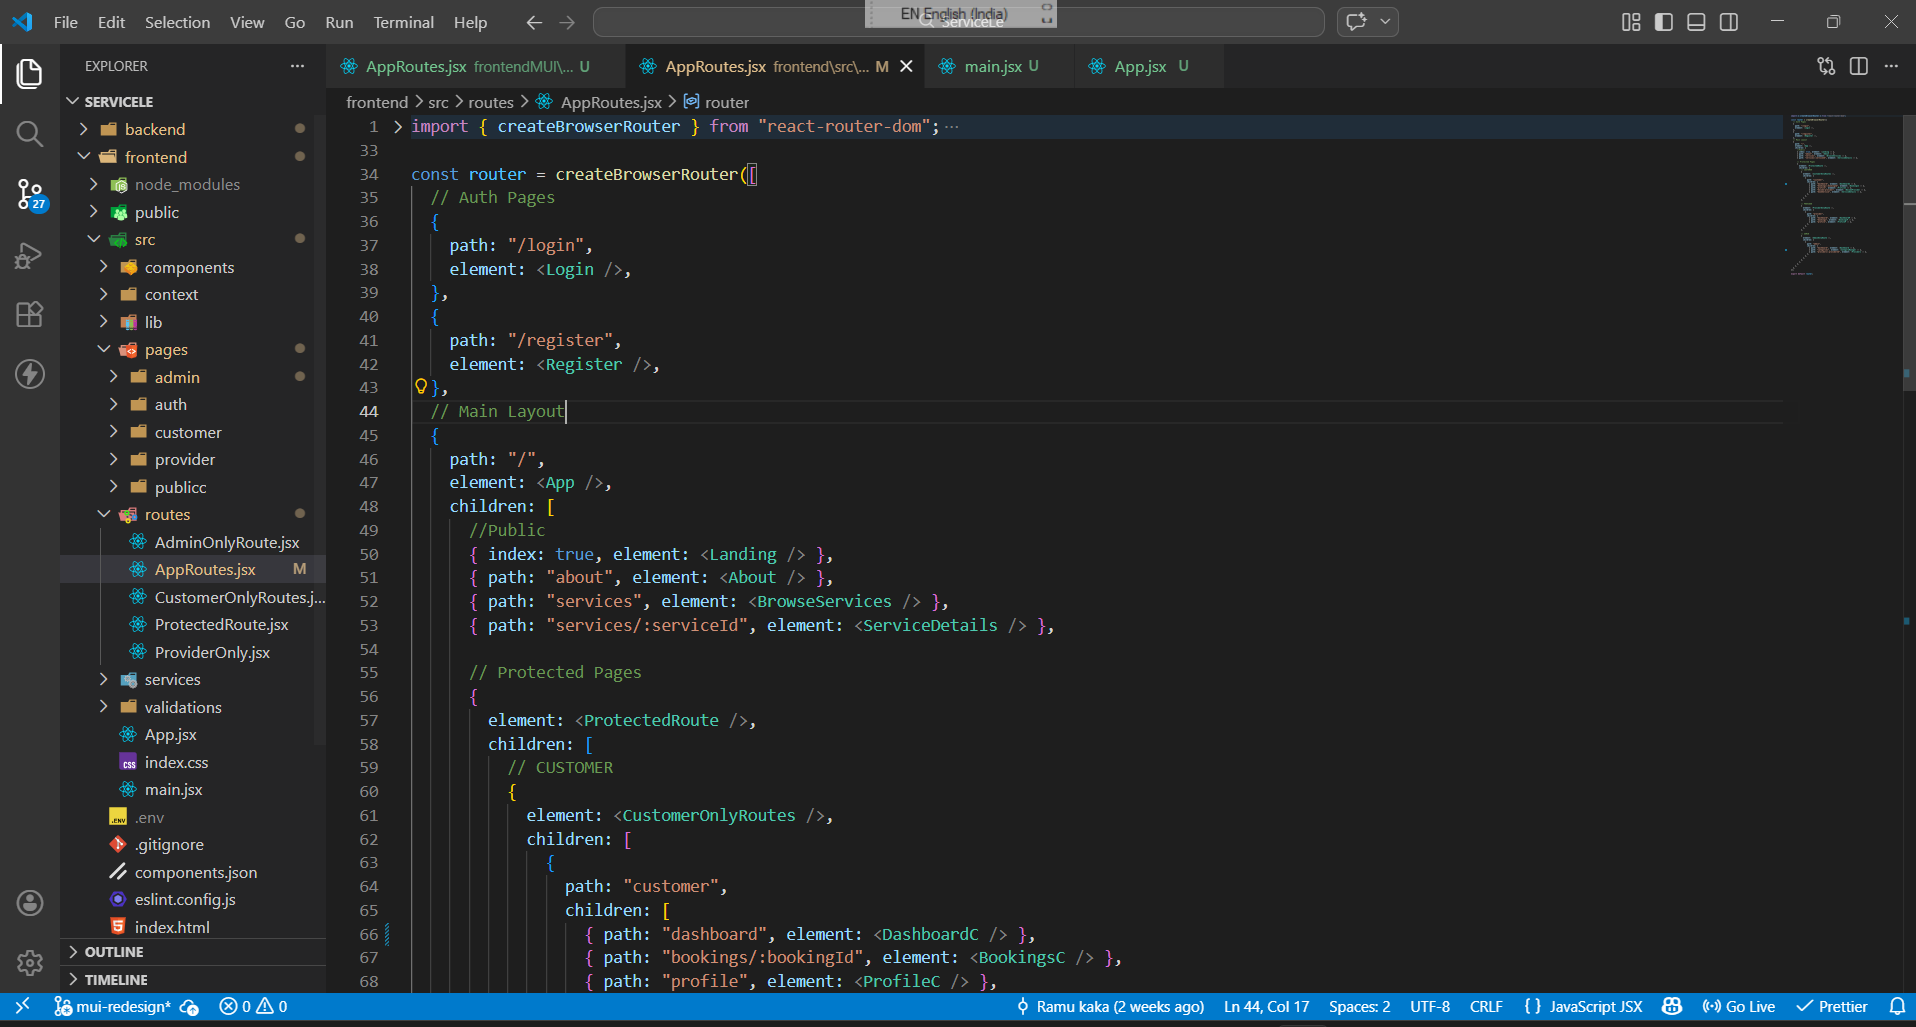
Common Mistakes
There are some common mistakes that beginners fall easily. So let's talk about those so you can avoid repeating the same mistakes.
1 - Mixing element & component
React router has two styles :
OLD style -
element :
<Home/>
NEW style -
Component : Home
Don't mix them randomly in the same setup.
Pick one style ( prefer Component for modern apps) and stay consistent.
2 - Forgetting
As we discussed about Outlet and it's usecase above, i think you already understand how important it is to use , but still sometimes while working with nested routes you might forget to use it .
And that's what cause problem. Now your child routes will not render at all . So always remember to use Outlet.
3 - Using BrowserRouter + RouterProvider together
Using BrowserRouter & RouterProvider is another mistakes that beginners do.
This is wrong and using BrowserRouter is the old way. So try to stay updated with the React Router docs and write code mindfully.
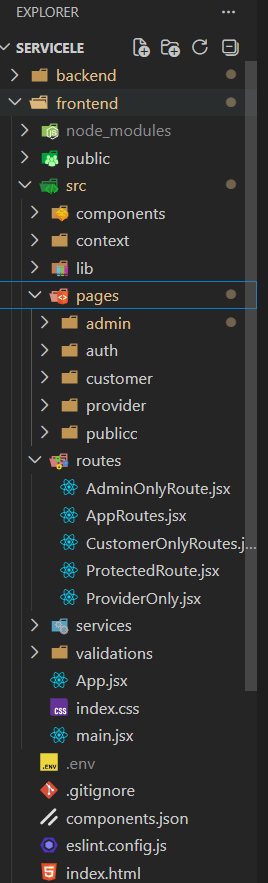
Common Folder Structure :
Conclusion
That’s it for this one.
This blog was just a beginner-friendly guide to help you get started with the modern setup using createBrowserRouter. If you can set up routes, use <Outlet />, and understand nesting - you’re already ahead of many beginners.
Of course, there’s still more to explore like data fetching (loaders), error handling, and protected routes. I didn’t cover those here to keep things simple and focused.
You can always refer to the official React Router docs if you want to go deeper - they have everything in detail.
I’ll probably write more about the advanced stuff in the next part.
For now, just try building something small using this setup - that’s where the real understanding comes from 🌻